HBase
安装hbase
下载
wget https://archive.apache.org/dist/hbase/2.0.0-alpha4/hbase-2.0.0-alpha4-bin.tar.gz
安装后解压到/opt/hbase文件夹
配置环境变量
修改~/.bashrc文件,添加以下代码
1 | export HBASE_HOME=/opt/hbase |
立即生效,source ~/.bashrc
修改配置文件
修改以下内容,/opt/hbase/conf/hbase-env.sh
1 | export HBASE_MANAGES_ZK=true |
使用hbase自带的zookeeper,java路径为/opt/jdk
修改以下内容,/opt/hbase/conf/hbase-site.xml
1 | <configuration> |
设置储存位置为hdfs://Master:9000/hbase
使用完全分布式模式,指定zookeeper集群的地址列表,指定zookeeper本地快照位置
修改以下内容:/opt/hbase/conf/regionservers
1 | Master |
HMaster闪退
1、时间同步
造成HMaster闪退,可能是由于节点的时间未同步,使用ntpdate
1 | yum install -y ntpdate |
配置后检查各个节点的date,看时间是否同步
2、zookeeper未连接
使用hbase自带的zookeeper的话,要保证之前安装的zookeeper不会抢占2181端口,如果已有进程抢占2181端口,使用kill命令杀死进程。
保证各个节点防火墙已关闭,使2181端口能够正常访问
1 | service iptables stop |
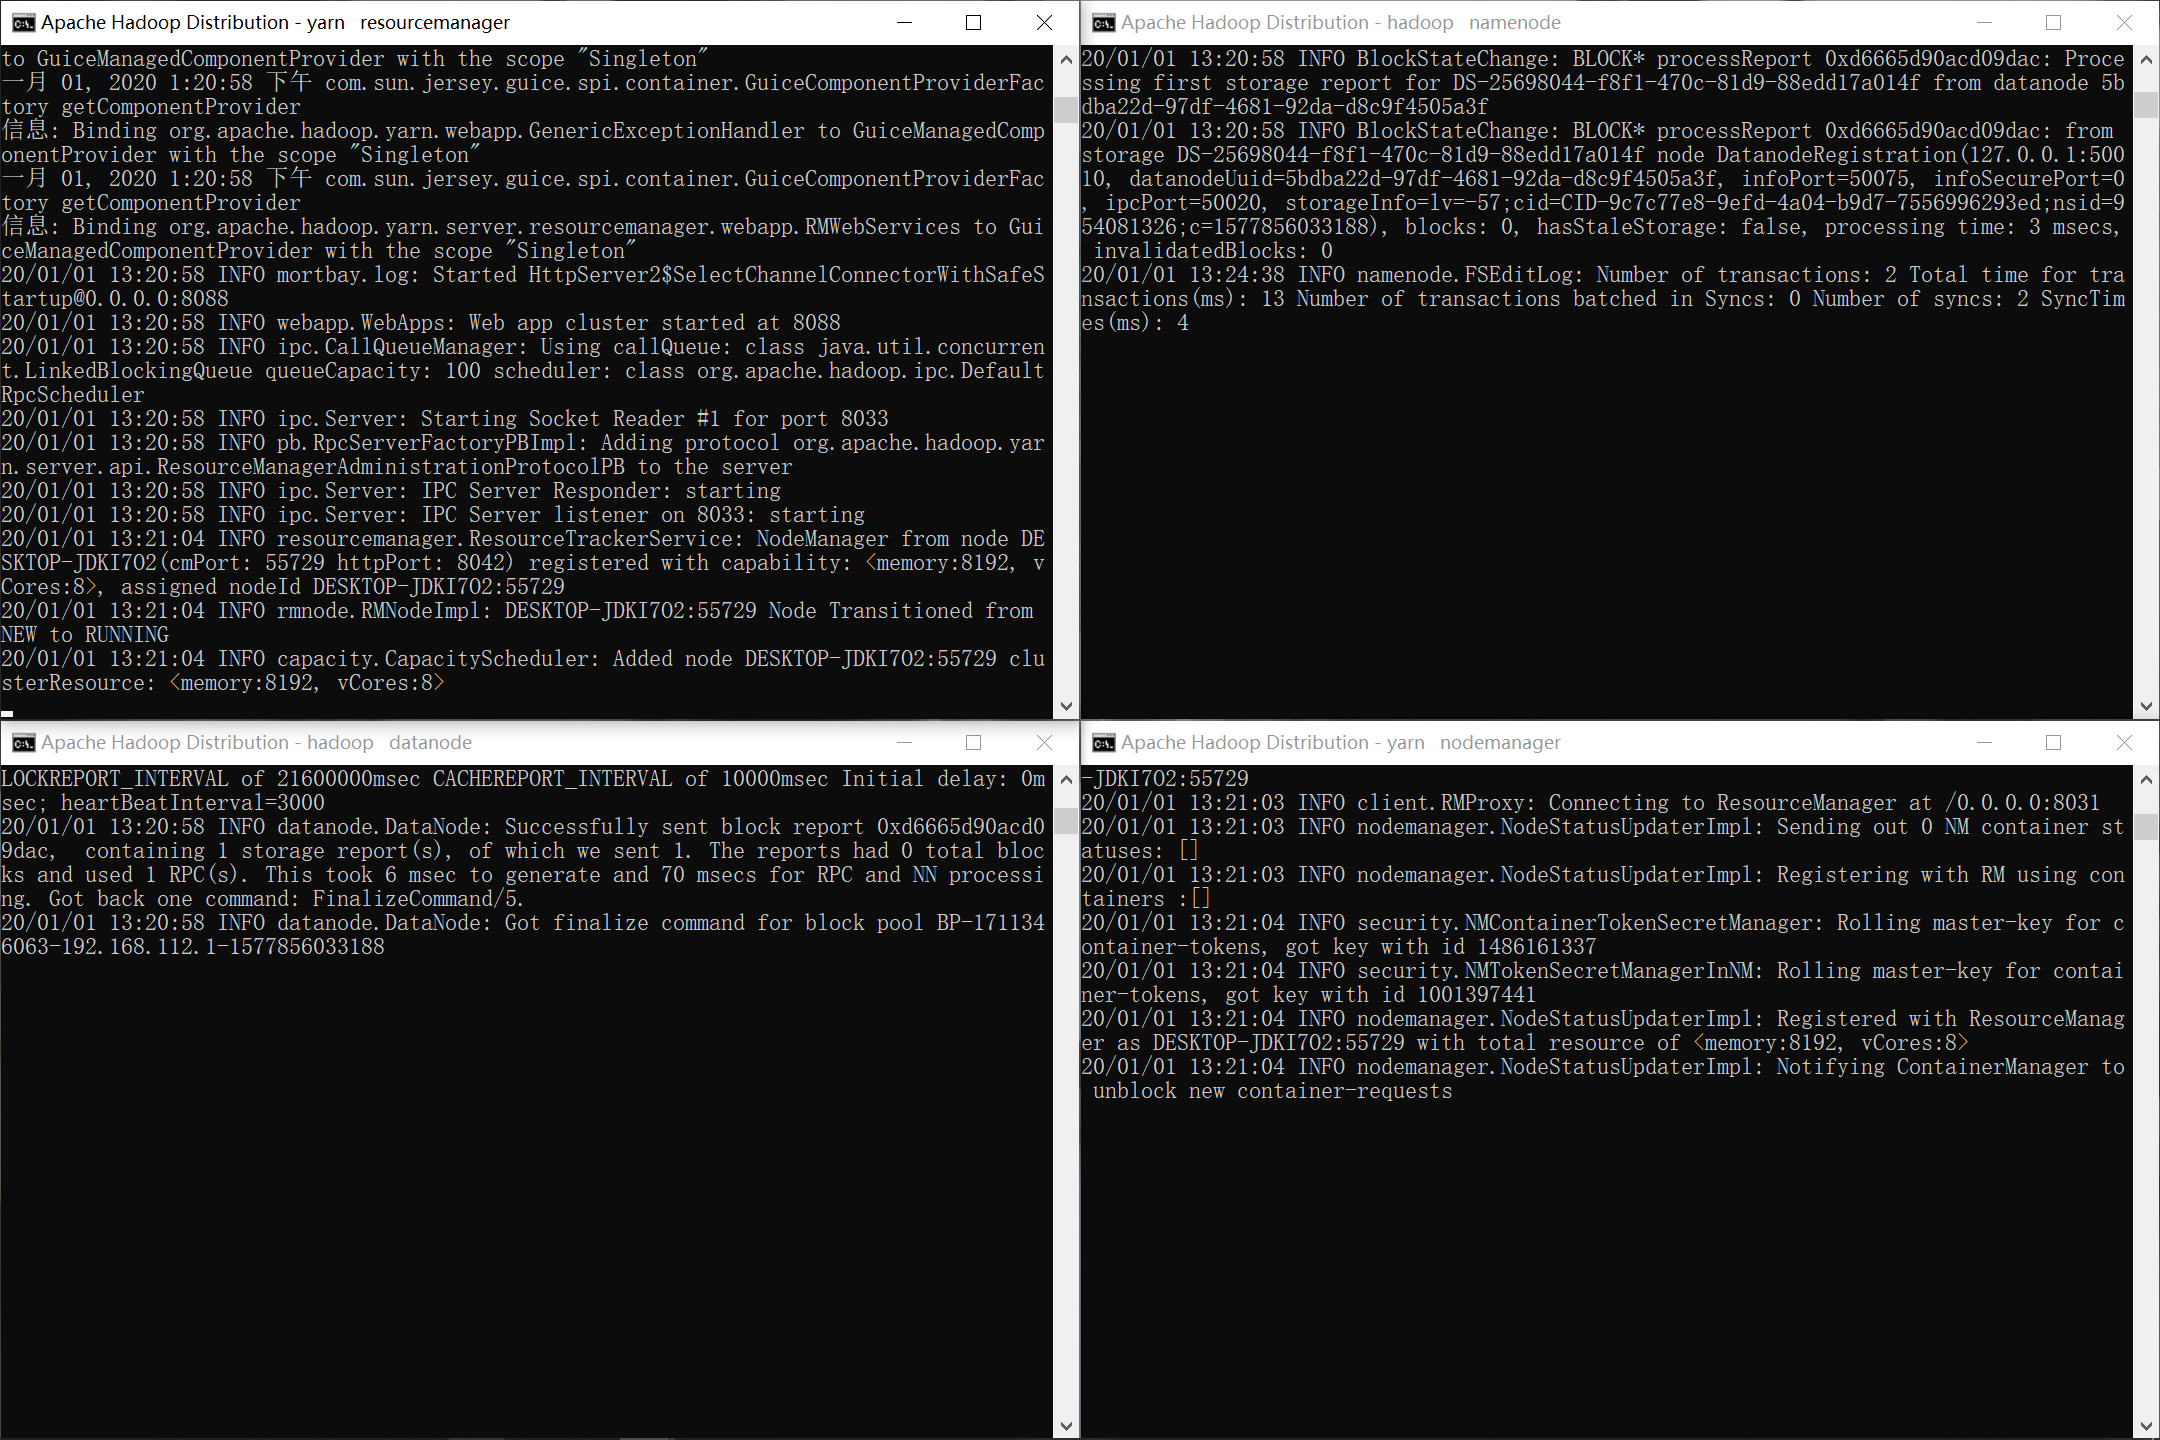
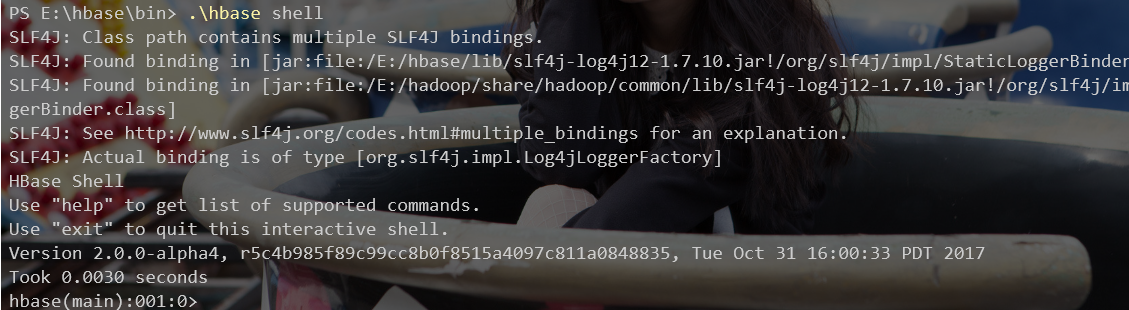
启动hbase
先启动Hadoop,start -all.sh ,之后启动hbase,使用shell

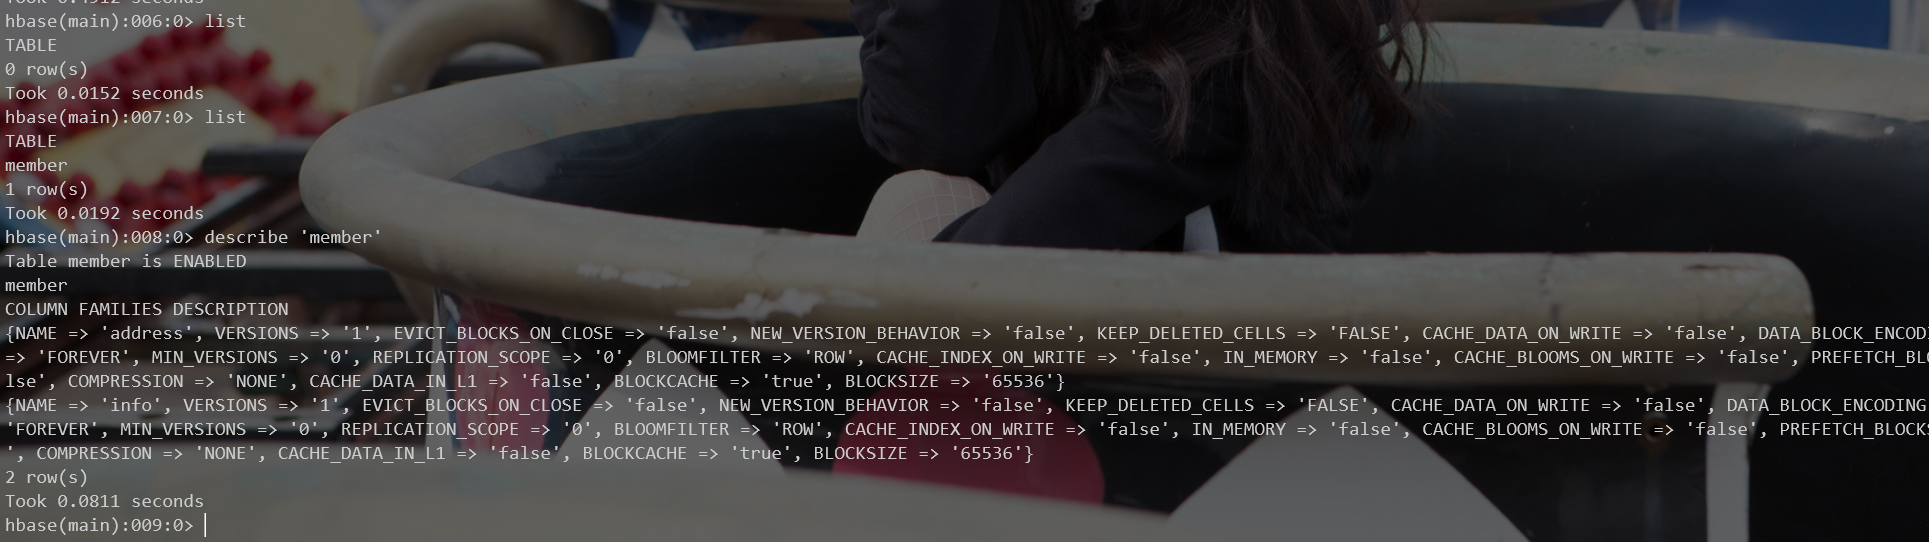
HBase Shell
create

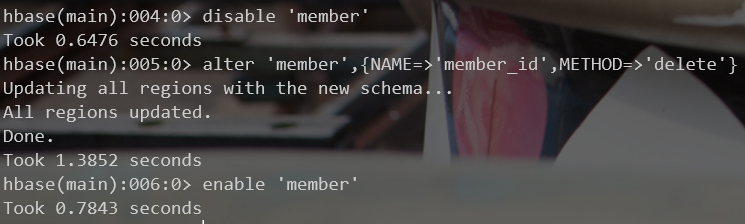
alter
删除menber中的member_id列族
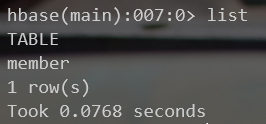
list
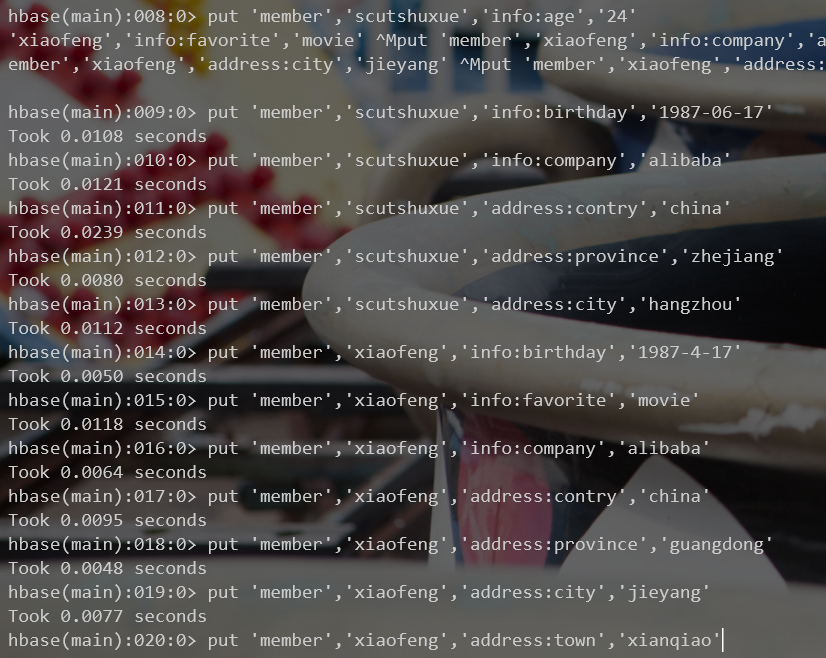
put
1 | put 'member','scutshuxue','info:age','24' |
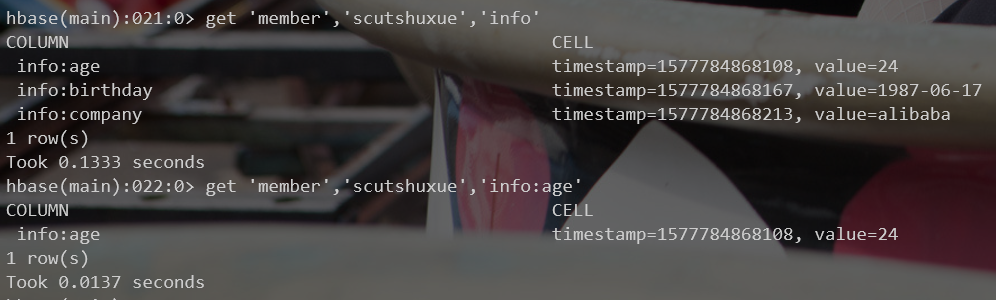
get
1 | get 'member','scutshuxue','info' |
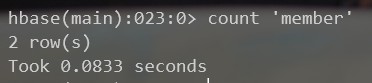
count
Java API
windows下安装hadoop
下载hadoop_2.8.2
解压到合适位置后,添加环境变量
由于是在windows上安装,使用编译好的windows版本二进制文件进行替换,下载地址:
https://github.com/steveloughran/winutils
由于没有2.8.2版本,所以使用2.8.3版本替换bin文件夹下全部内容
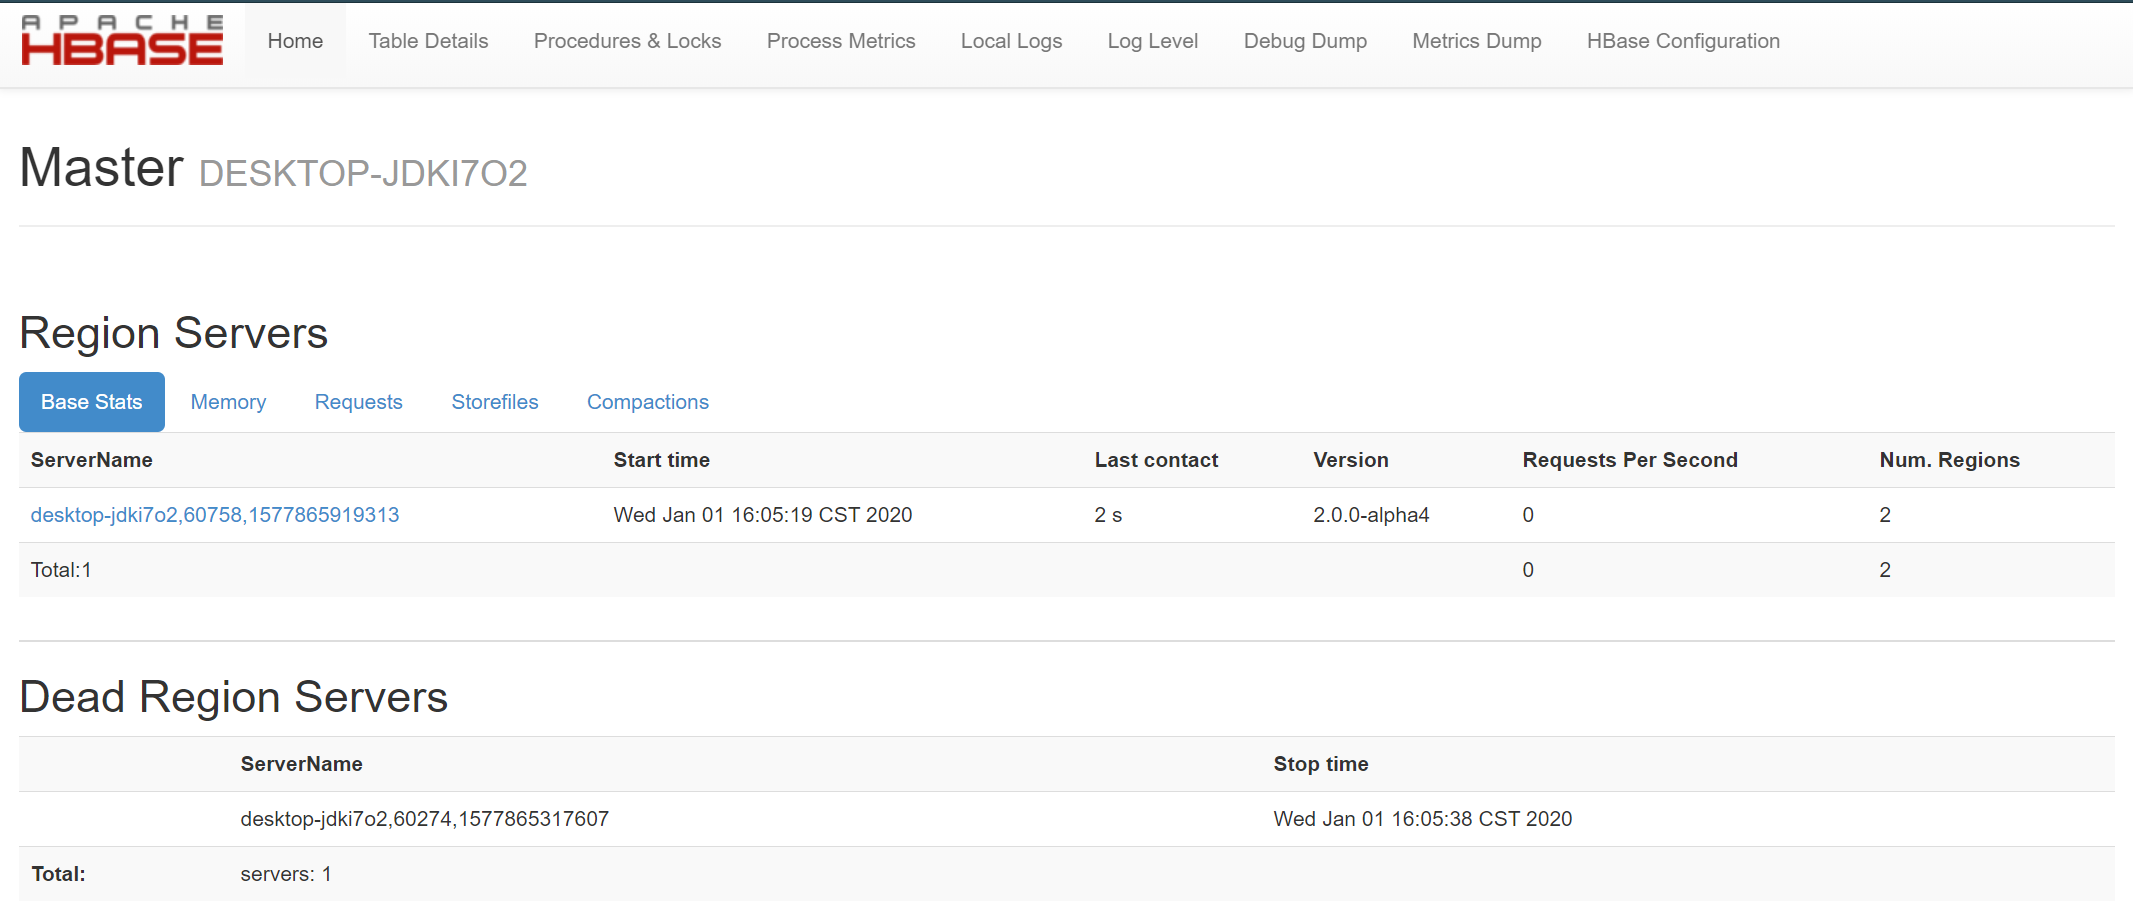
修改配置文件后,格式化hdfs,到sbin目录下启动hadoop
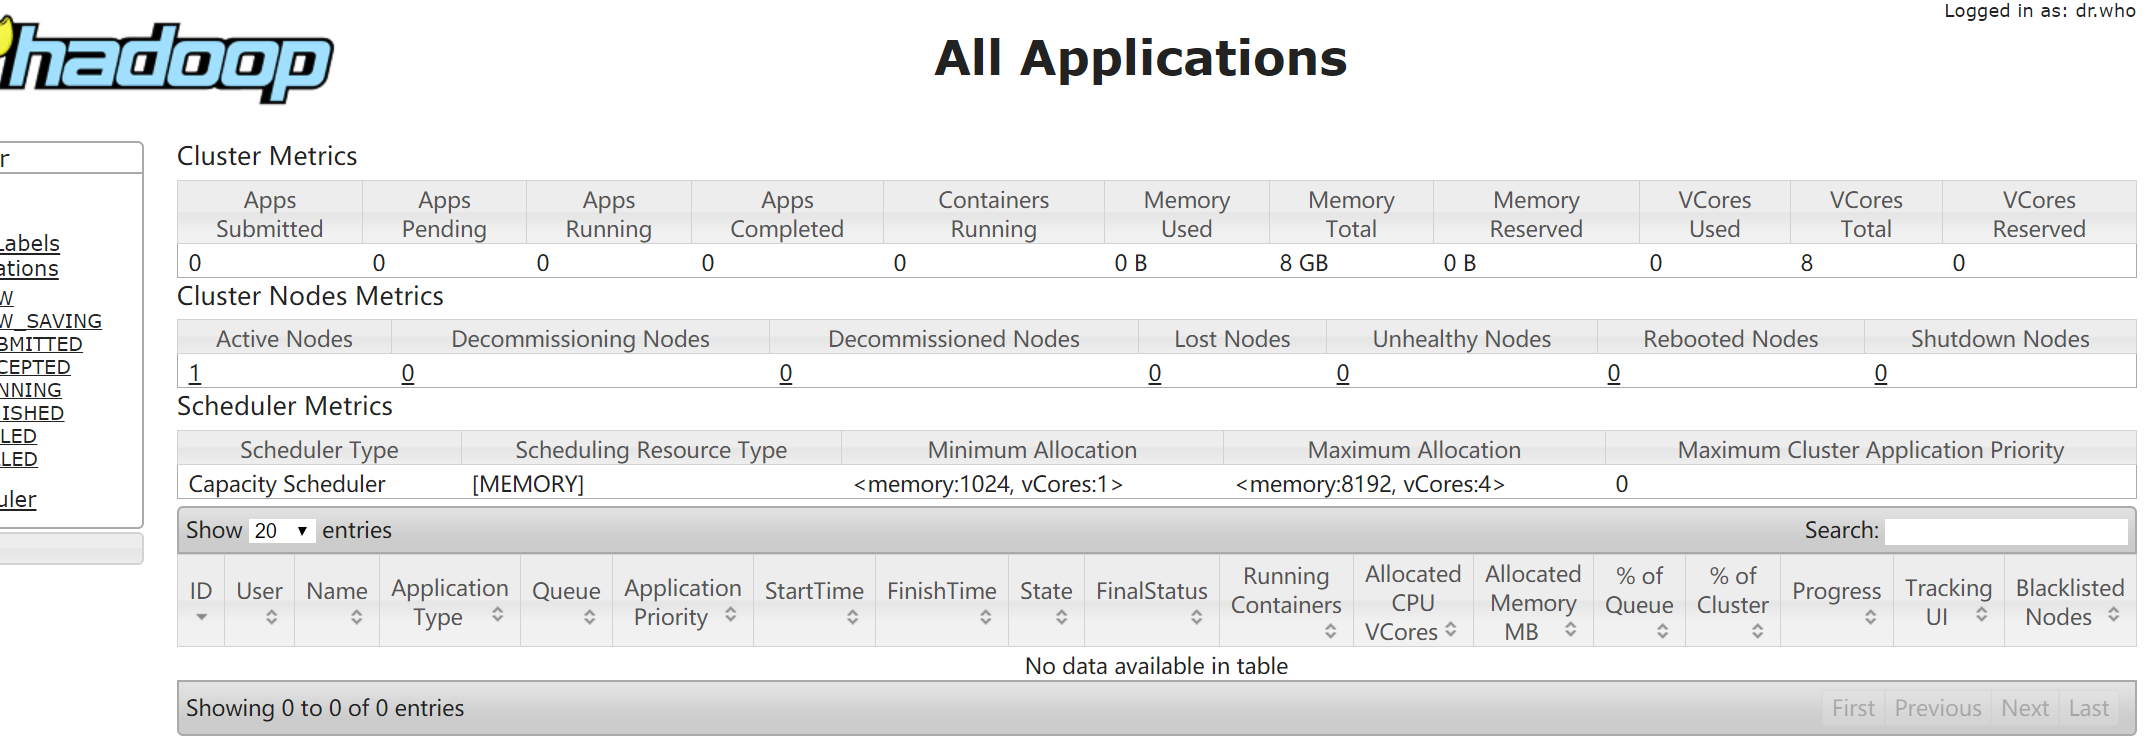
可以通过http://localhost:8088/ 、 http://localhost:50070/ 查看hadoop相关信息
windows下安装hbase
官网下载安装包,版本选择的是 HBase 2.0.0-alpha4,下载地址:http://archive.apache.org/dist/hbase/
修改环境变量等配置文件,在运行时报错
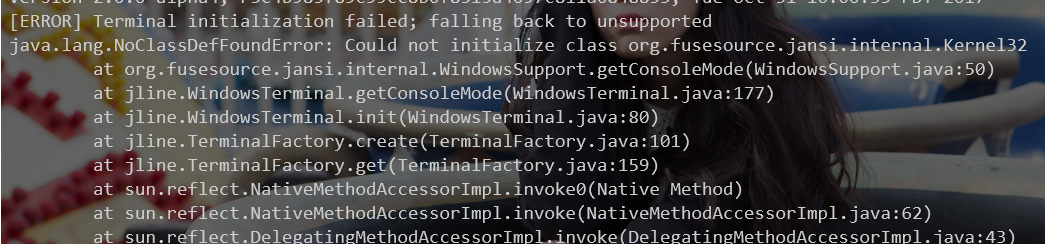
原因是缺少jar包导致,在网上下载 jline-2.12.1.jar,替换掉hadoop目录里的两个低版本的 jline-0.9.94.jar,并复制一份添加到yarn/lib中去
运行
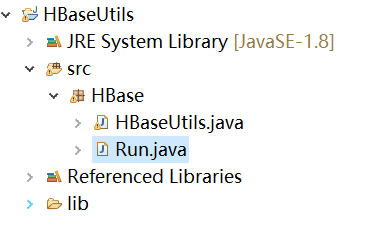
java项目
创建Java项目,导入本机hbase\lib下的所有jar包
创建HBaseUtils类、Run类
建立连接
1
2
3
4
5
6
7
8HBaseUtils() throws IOException {
conf = HBaseConfiguration.create();
conf.set("hbase.rootdir", "hdfs://Master:9000/hbase");
conf.set("hbase.zookeeper.quorum", "Master,Slave1,Slave2");
config.set("hbase.zookeeper.property.clientPort", "2181");// zookeeper端口
connection = ConnectionFactory.createConnection(config);
admin = conn.getAdmin();
}创建表
1
2
3
4
5
6
7
8
9
10
11
12
13public void createTable(String tableName, String[] family) throws Exception {
HTableDescriptor desc =new HTableDescriptor(tableName);
for(int i=0;i<family.length;i++){
desc.addFamily(new HColumnDescriptor(family[i]));
}
if(admin.tableExists(tableName)){
System.out.println("Already Exits");
}else{
admin.createTable(desc);
System.out.println("Create Success");
}
}插入数据
1
2
3
4
5
6
7
8
9
10public void insertRecord(String tableName, String row, String col, String values) throws IOException {
createConn();
Table table = conn.getTable(TableName.valueOf(tableName));
Put put = new Put(row.getBytes());
String[] cols = col.split(":");
put.addColumn(cols[0].getBytes(), cols[1].getBytes(), values.getBytes());
table.put(put);
table.close();
closeConn();
}删除数据
1
2
3
4
5
6
7public void deleteRow(String tName, String row) throws IOException {
createConn();
Table table = conn.getTable(TableName.valueOf(tName));
Delete del = new Delete(row.getBytes());
table.delete(del);
table.close();
}
遍历表
1
2
3
4
5
6
7
8
9
10
11
12
13
14
15
16
17
18
19
20
21
22public ResultScanner getResultScann(String tableName) throws Exception {
Scan scan=new Scan();
ResultScanner rs =null;
HTable htable=new HTable(conf, tableName);
try{
rs=htable.getScanner(scan);
for(Result r: rs){
for(KeyValue kv:r.list()){
System.out.println(Bytes.toString(kv.getRow()));
System.out.println(Bytes.toString(kv.getFamily()));
System.out.println(Bytes.toString(kv.getQualifier()));
System.out.println(Bytes.toString(kv.getValue()));
System.out.println(kv.getTimestamp());
}
}
}finally{
rs.close();
}
return rs;
}
结果
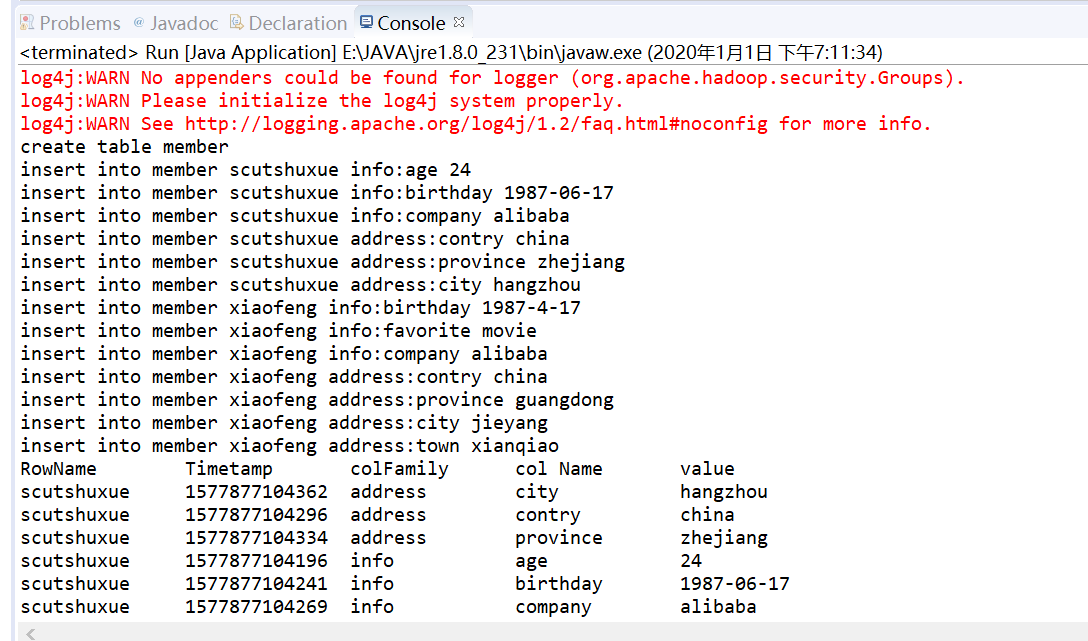
在虚拟机中查看结果,可以看到通过java api成功创建了menber表
如果在虚拟机中使用hbase shell时出现错误
Can't get master address from ZooKeeper; znode data == null只需重新启动hbase